
A Video field is a type of Media field that allows the user to record a video for a data collection.
To enable video recording functionality, the tag can be added to the appropriate position in the XML file. Example:
|
1 |
<Video id="Video" max="3" startRecImg="startVideo.png" stopRecImg="stopVideo.png" useFrontCamera="false" optional="true" review="true"/> |
There are many attributes that you can include within the Video tag, for a full list of these attributes click here.
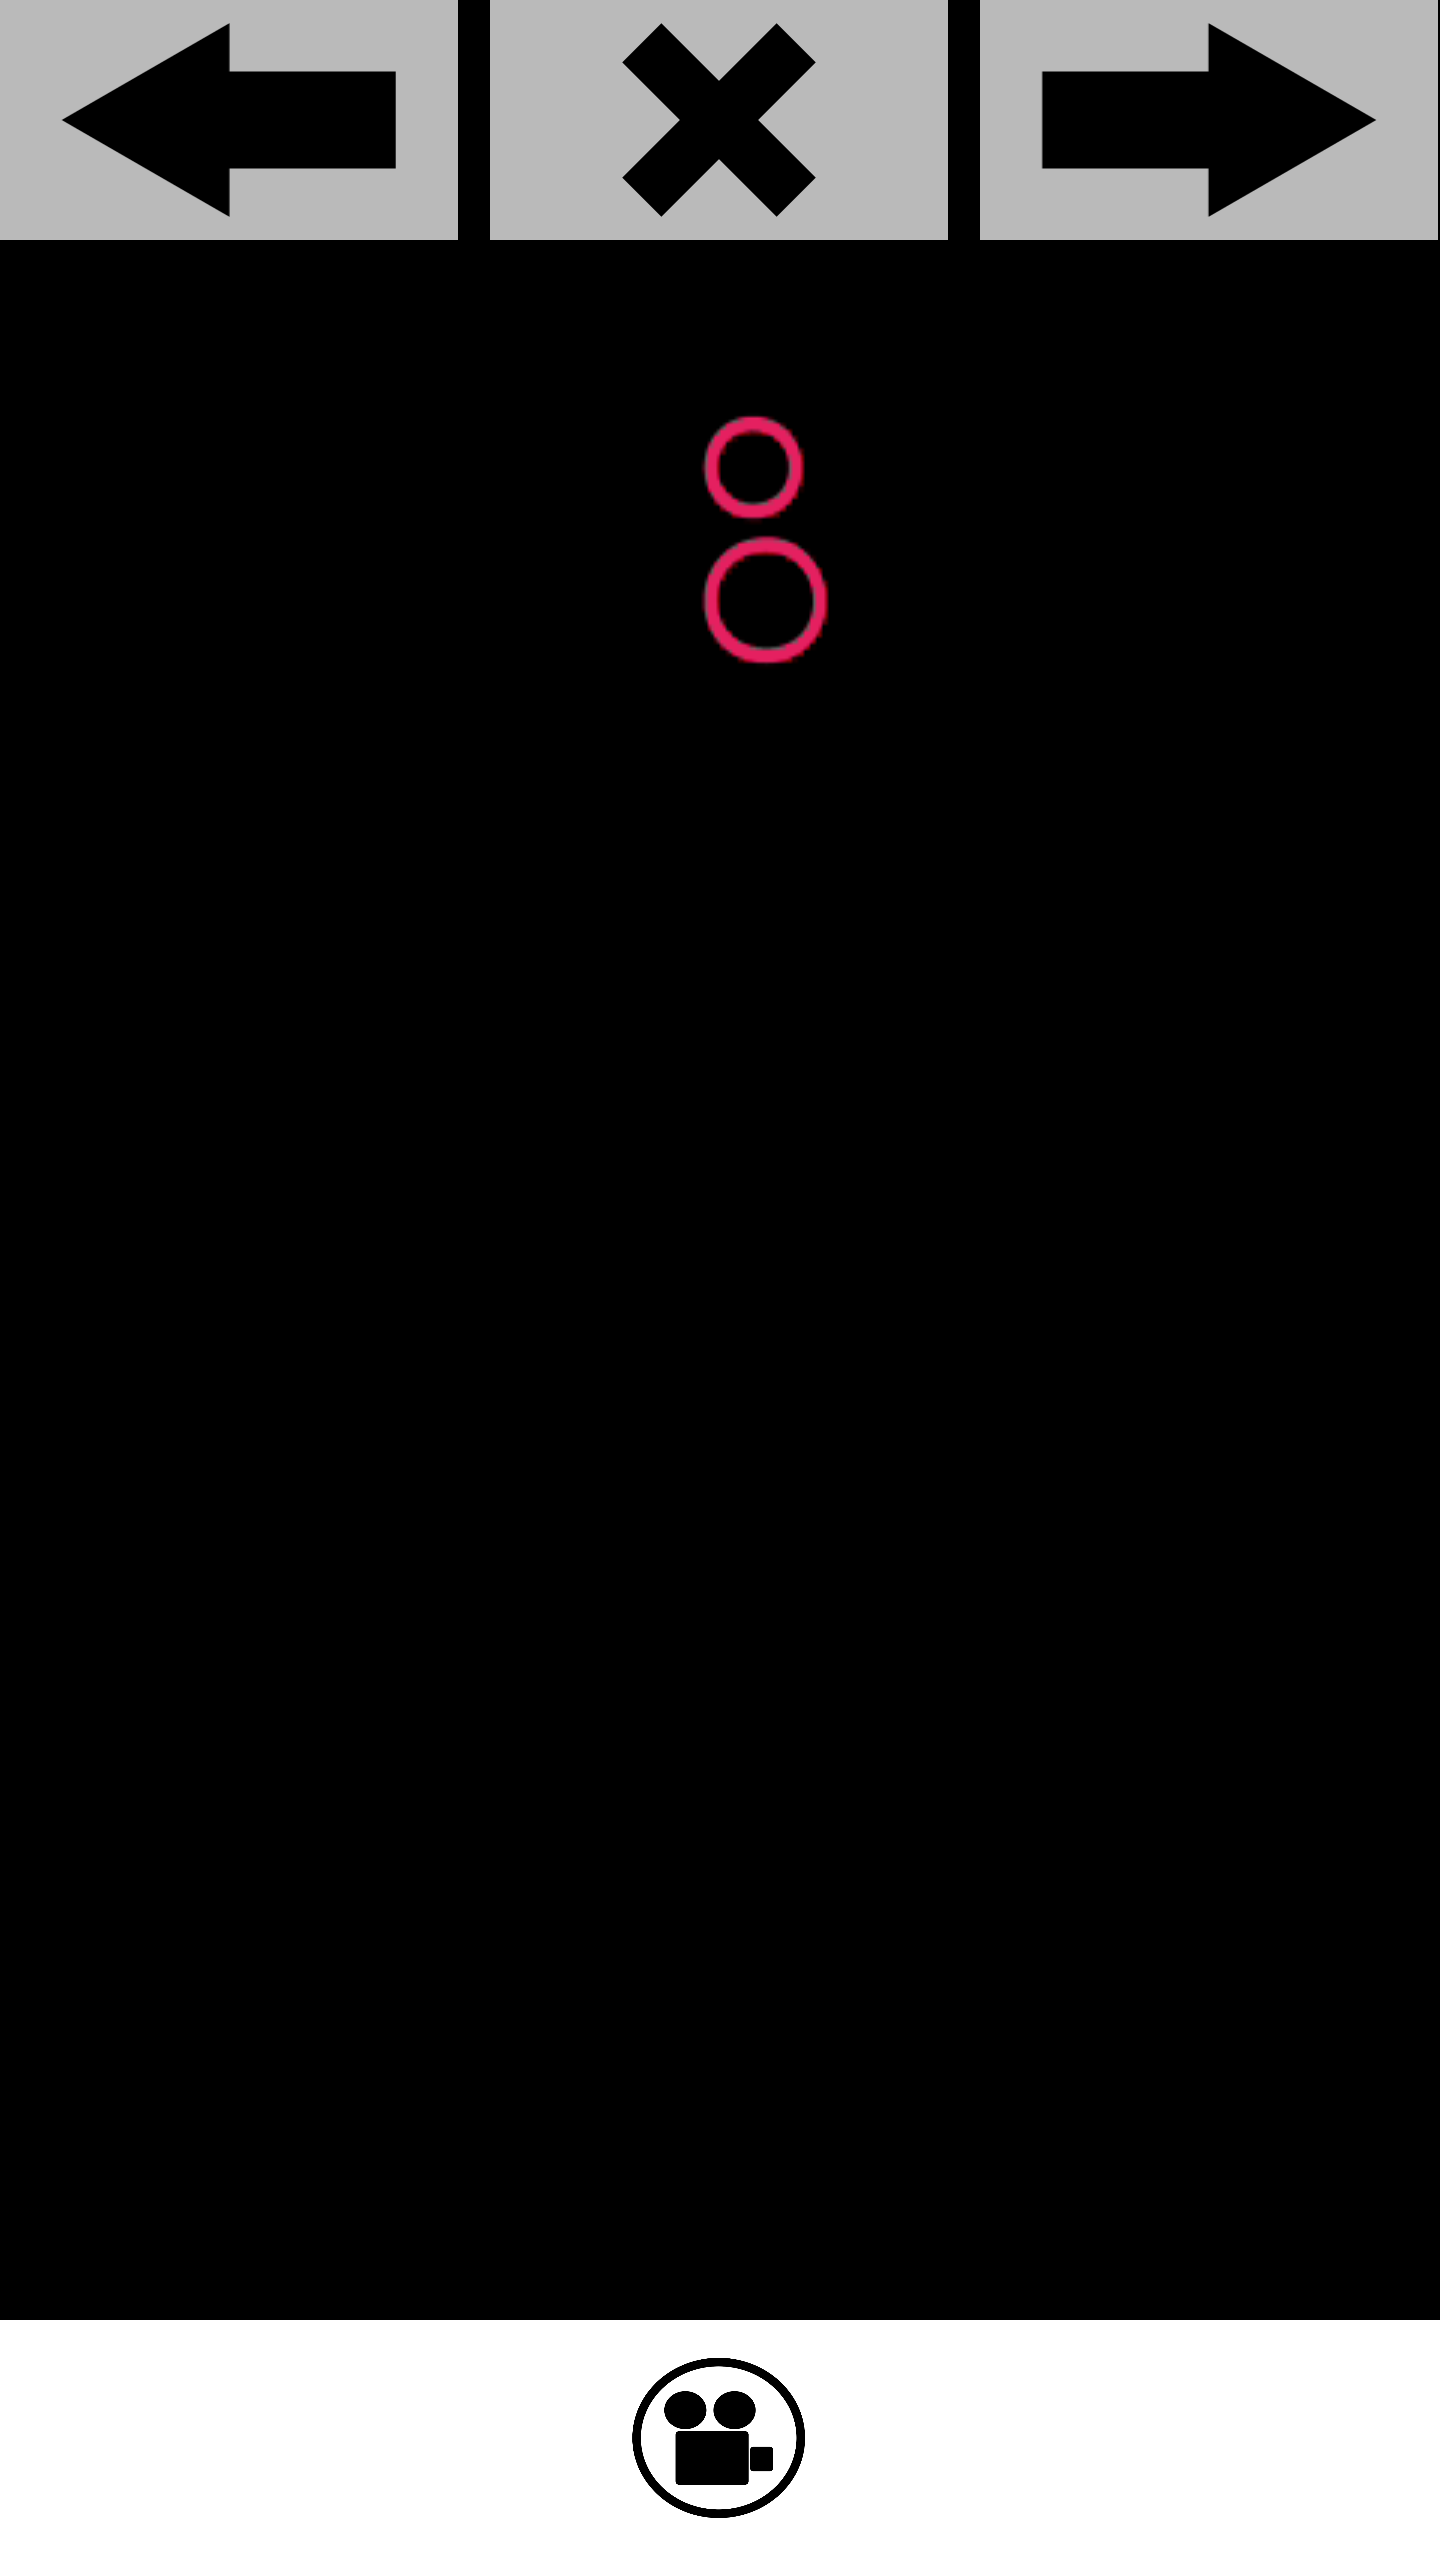
In the above example, the attribute max=”3″ means that the user can take a maximum of three video recordings. The attribute startRecImg=”startVideo.png” will display a custom ‘start recording’ icon on the screen for the user to press when they are ready to start the recording (see customised icon section below).
The stopRecImg=”stopVideo.png” will display a custom ‘stop recording’ icon on the screen for the user to press when they have finished their video recording (see customised icon section below). The useFrontCamera=”false” attribute will mean that the video will not be taken from the device’s front-facing camera. The optional=”true” attribute will provide a skip button, if the user would rather not record a video for data collection.

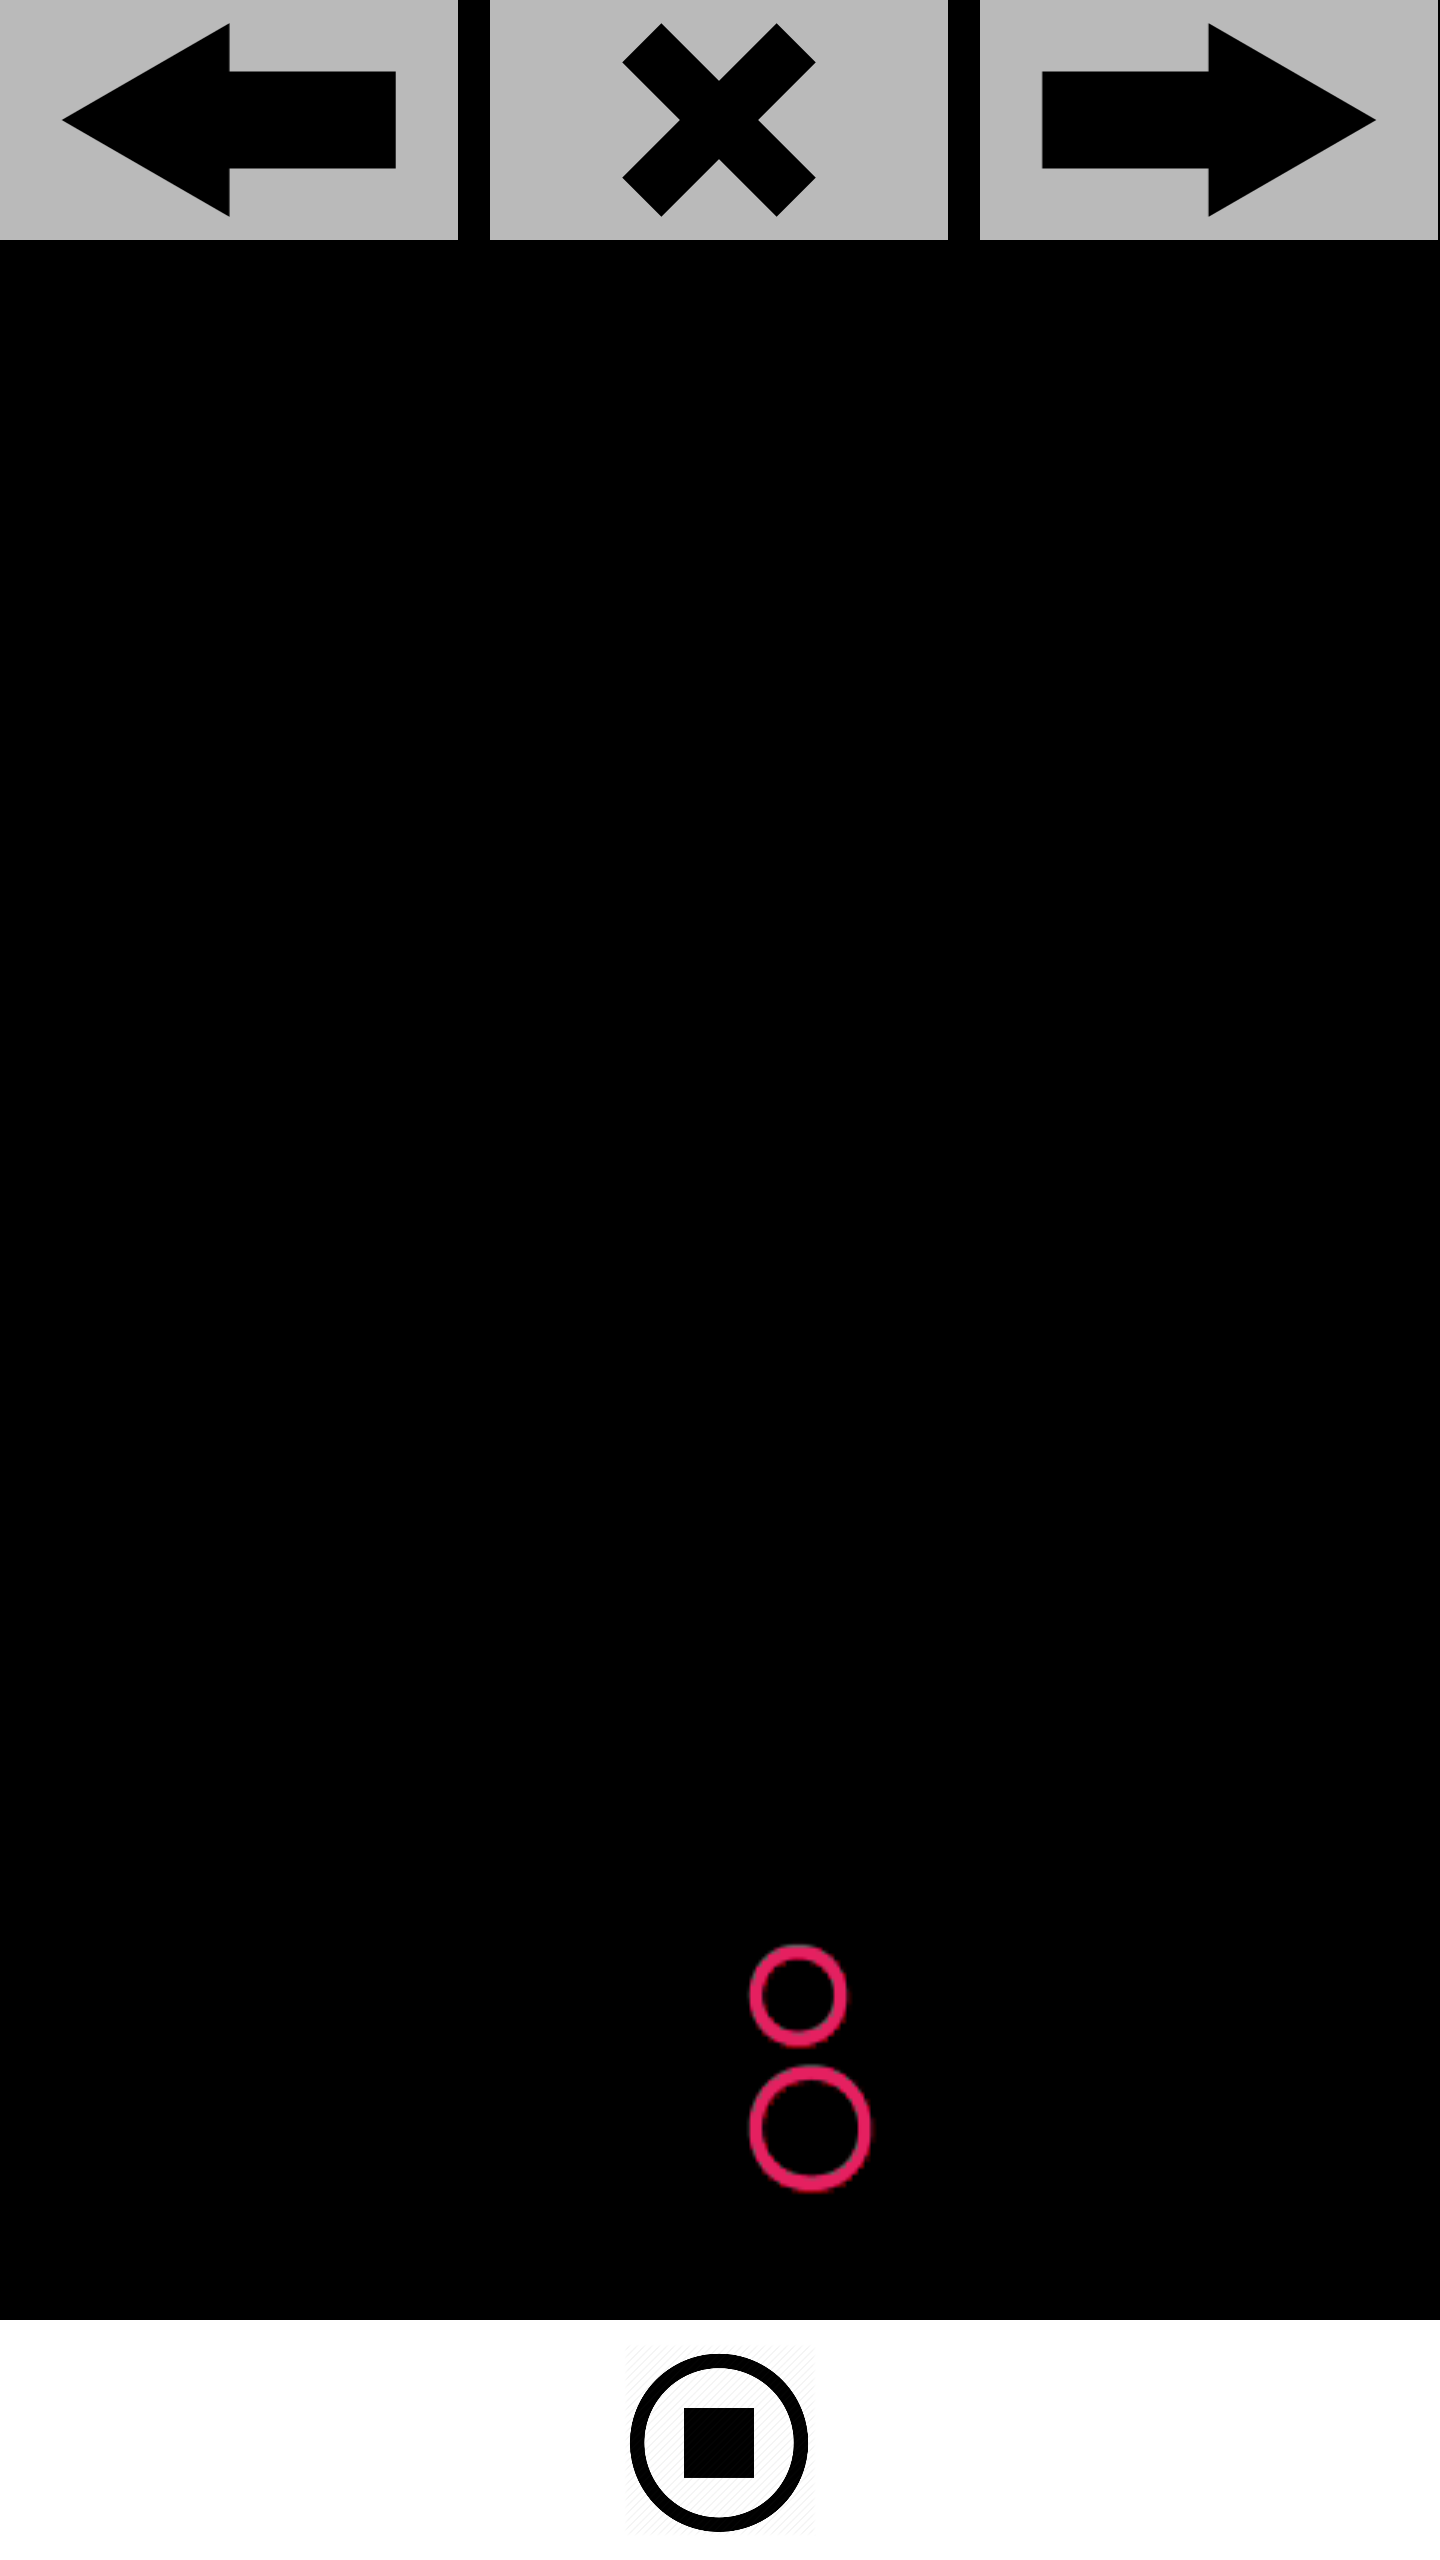
The review=”true” attribute allows the user to review the previously recorded video(s). The user can select the video(s) they wish to save or discard at this stage. A review=”false” would not provide this option and would automatically accept the video(s) and take the user to the next section of the project.
N.B. For all custom button images, such as a startRecImg=”startVideo.png” icon, you will need to have saved the image using the same name “startVideo.png” in the ‘img’ folder of your Sapelli project.
Customise icon buttons
If you prefer to use your own customised icon buttons, rather than the default icons, you must specify the images you wish to use in the code:
|
1 |
<Video id="Video" startRecImg="startVideo.png" stopRecImg="stopVideo.png" approveImg="approve.png" discardImg="discard.png" recordingImg="recording.png" startPlaybackImg="playback.png" stopPlaybackImg="stopplay.png"/> |
- startRecImg specifies for the icon the user clicks when they are ready to start recording.
- stopRecImg specifies for the icon the user clicks when they wish to stop recording.
- approveImg specifies for the icon the user clicks to approve a video they are reviewing.
- discardImg specifies for the icon the user clicks to delete a video they are reviewing.
- startPlaybackImg specifies for the icon the user clicks to watch the video back.
- stopPlaybackImg specifies for the icon the user clicks to stop watching the video back.
Save the images you wish to use as your icons in the ‘img’ folder of your Sapelli project. Make sure they are saved using the same name as that in the code, i.e. “photo.png”.